
Resource Hub
How to install a silt fence correctly
Categories
Share
Quick answer
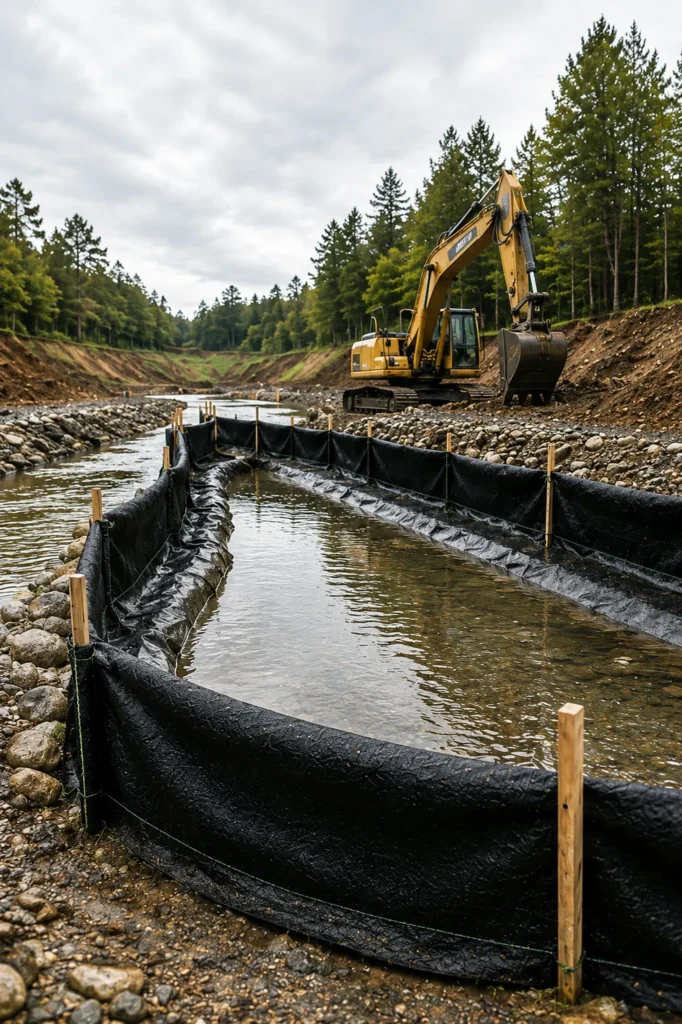
Silt fence installation means trenching along the contour, driving the posts on the downslope side, fixing geotextile to the upslope face, and compacting the backfill so no water passes underneath. The fabric must be self supporting and carried into the base of the trench, not stapled to the surface. Get the trench and the compaction right and the fence works. Skip either and water runs under it.
The numbers below come from Australian practice, principally the NSW guideline Managing Urban Stormwater: Soils and Construction, known on site as the Blue Book, and EPA Victoria sediment control guidance.
What a silt fence does and where it belongs on a site

A silt fence is a sediment barrier, not a diversion. It ponds shallow sheet flow long enough for coarse particles to settle and lets filtered water pass slowly through the geotextile. It does not treat concentrated flow, remove clay, or replace a basin.
Put it along the downslope perimeter of disturbed areas, around stockpiles at the toe of the batter, along the low side of haul roads and hardstand, and upslope of kerbs, waterways and stormwater inlets. Do not run it across a gully line, table drain or diversion channel, or anywhere flow concentrates. That is a check dam, sediment trap or basin.
Planning the fence line before you dig
Set the line on the contour, not the property boundary. A fence angled across the contour turns sheet flow into concentrated flow at the low point and blows out there. Two limits govern the layout.
Contributing area. The catchment feeding any one length must be small enough that concentrated flow stays under roughly 50 litres per second in the design storm. Where it is larger, break the run with returns, short sections angled back uphill.
Slope length above the fence. EPA Victoria guidance sets the maximum:
| Slope | Maximum slope length above the fence |
|---|---|
| 1:2 | 15 m |
| 1:3 | 25 m |
| 1:4 | 40 m |
| 1:5 | 50 m |
| Flatter than 1:5 | 60 m |
Worked example: a batter at 1:3 running 60 metres crest to toe is more than double the 25 metre limit, so one fence at the toe will not hold it. Run three lines at roughly 20 metre intervals instead.
Before you dig, confirm services, peg the line, and check it against the approved erosion and sediment control plan. Install it elsewhere and your compliance position is wrong too.
Tools and materials you will need
- Geotextile made specifically for sediment fencing. Shade cloth is not acceptable and will be failed on inspection. Supplier data should reference AS 3706 test methods for strength and flow rate.
- Star pickets, typically 1.5 m long, with safety caps.
- Post driver, crowbar, trenching tool or narrow bucket.
- 2.5 mm high tensile wire where top and mid support is needed, plus hog rings, clips or pins.
- Compaction plate, pegs, string line and hand level.
Step one: excavate the trench
Cut the trench along the upslope side of the pegged line.
- Excavate 150 mm deep as a minimum. A 200 mm wide by 200 mm deep trench performs better and is what most civil specifications call for.
- Keep the base flat and level along the contour so ponding depth is even.
- Cast spoil to the upslope side. Spoil placed downslope is the first thing to erode under the fence.
- Do not trench through tree root zones without arborist sign off.
The trench is the step most often skipped when a crew is behind schedule, and the one that decides whether the fence works at all.
Step two: drive the support posts
- Drive posts on the downslope side of the trench so the fabric bears against them under load.
- Space them at 2 m centres as standard, no more than 2.5 m under the Blue Book layout. Extend to 4 m only where 2.5 mm high tensile wire runs at mid height and the top.
- Embed each post a minimum of 400 mm, deeper in soft or sandy ground.
- Keep posts plumb and fit safety caps as you go. A leaning post transfers load to the fabric, not the ground.
Step three: fix the fabric and set the tension
- Unroll the geotextile on the upslope face of the posts.
- Feed the bottom of the fabric down the upslope trench wall and across the base, so fabric and wall together form the seal.
- Set the exposed height at a minimum of 600 mm above finished ground.
- Where wire is used, run it along the top and at mid height, fixing the fabric at about 150 mm intervals.
- Tension the fabric taut but not drum tight. Over tensioning tears it at the fixings in the first loaded storm.
- Join lengths at a support post with a 150 mm overlap, never a butt join mid span.
Step four: backfill and compact
- Return the spoil into the trench over the buried fabric.
- Compact in layers, not one lift. A loose single lift will pipe under the fabric within one event.
- Compact the upslope face hardest, since that side takes the hydraulic load.
- Walk the line looking for daylight under the fabric. Any gap is a failure point.
- Dress the toe so flow meets the fabric, not a spoil ridge that diverts it sideways.
Inspection and maintenance during the works
- Inspect weekly and after every rainfall event that produces runoff.
- De-silt when sediment reaches one third of the exposed fabric height. On a 600 mm fence that is 200 mm.
- Repair tears, re-tension slack panels and re-drive leaning posts on the same visit.
- Check the trench line for undercutting and re-backfill immediately.
- Record each inspection with a date, condition and actions taken. That record is what a council officer or principal contractor asks for.
When to remove the fence and restore the ground
Leave the fence until the contributing area is stabilised, meaning groundcover is established or the surface permanently sealed. Removing early is a common way to attract a notice after the job looks finished.
- Remove trapped sediment first and place it in a stabilised area on site, not down the slope.
- Pull the posts, then lift the fabric with its buried tail.
- Backfill and compact the trench line, then topsoil or seed the disturbed strip.
- Dispose of used geotextile through the site waste stream and keep the docket.
The installation mistakes that let sediment through
- No trench. Fabric pinned to the surface, so water runs under it.
- Loose backfill. Trench cut but never compacted, so the fabric pipes underneath.
- Posts on the wrong side. Fabric on the downslope face pulls off under load.
- Fence off contour. Flow concentrates at the low point and blows out there.
- No returns. One unbroken run collecting more catchment than it can pond.
- Shade cloth. Wrong flow rate, wrong strength, automatic finding.
- De-silting too late. Sediment above one third height loads the fence until it fails.
- Fence on concentrated flow. A silt fence across a drain line fails.
Council and state erosion and sediment control expectations
Most councils require an erosion and sediment control plan as a condition of consent, and the plan is enforceable in its own right. State duties sit behind it: EPA NSW under the Protection of the Environment Operations Act 1997, EPA Victoria under section 25 of the Environment Protection Act 2017, DETSI under section 319 of the Environmental Protection Act 1994, DWER under the Environmental Protection Act 1986, EPA SA under the Environment Protection Act 1993 and the Environment Protection (Water Quality) Policy 2015, and equivalent duties administered by EPA Tasmania, the NT EPA and the ACT EPA.
The test is the same everywhere: sediment must not leave the site or enter the stormwater system, and you must show the controls were installed to the plan, inspected and maintained.
Silt socks, curtains and washout bunds that work alongside the fence
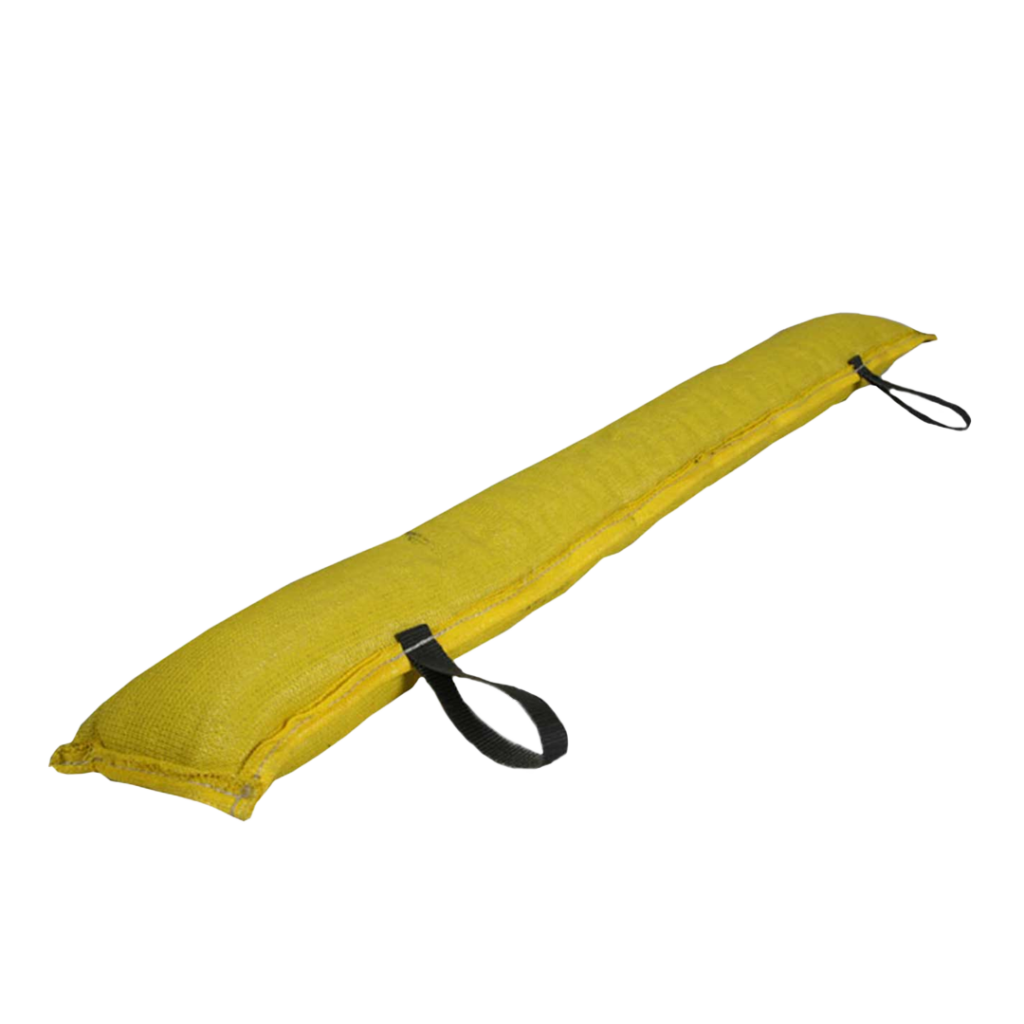
Akuna does not stock silt fence itself, so source fabric and pickets through a geotextile or civil supplies merchant. Akuna supplies the rest of the sediment control line, which is usually where sites leak:
- Silt socks. Filter tubes for kerb lines, hardstand and inlets, and anywhere a trench cannot be cut. Silt Socks
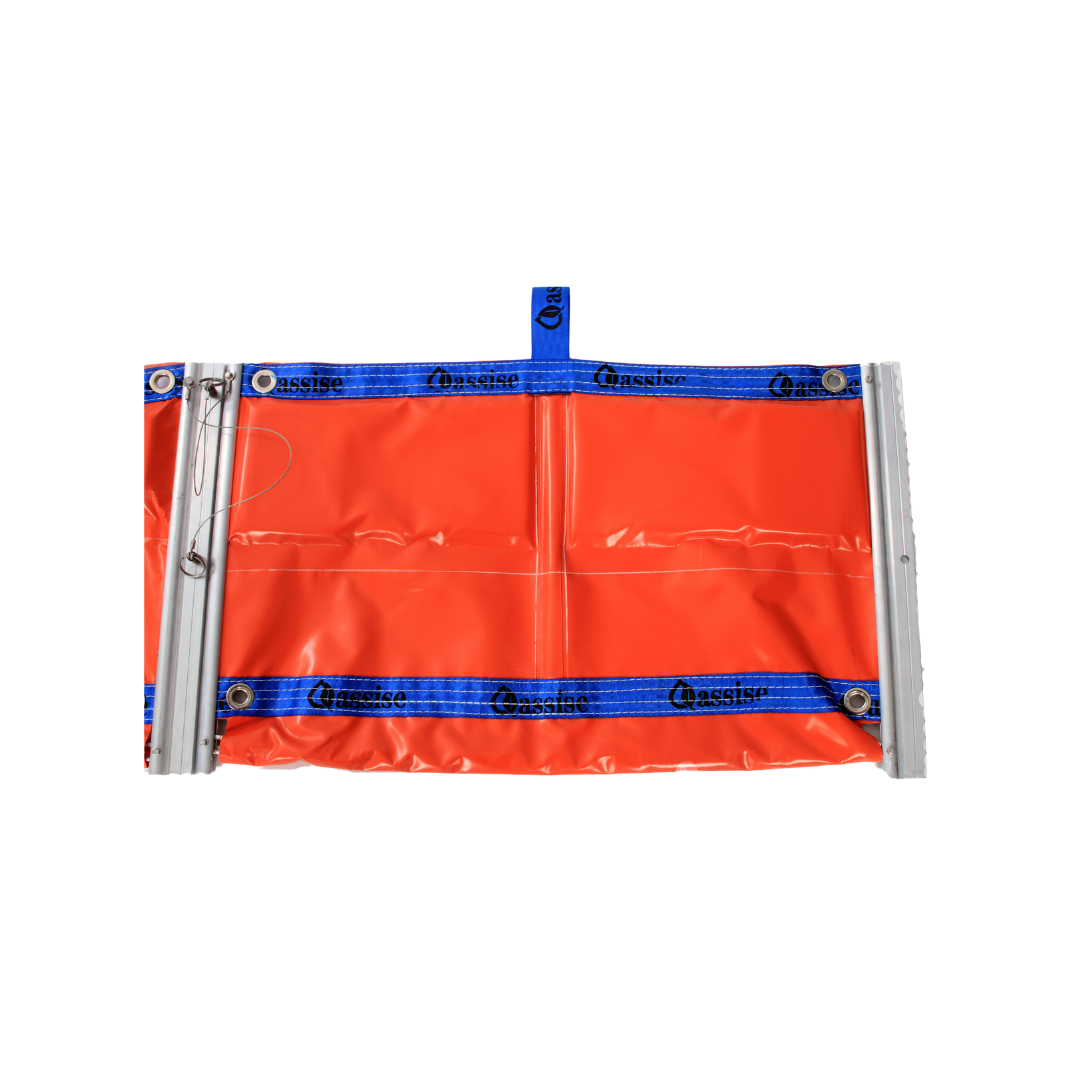
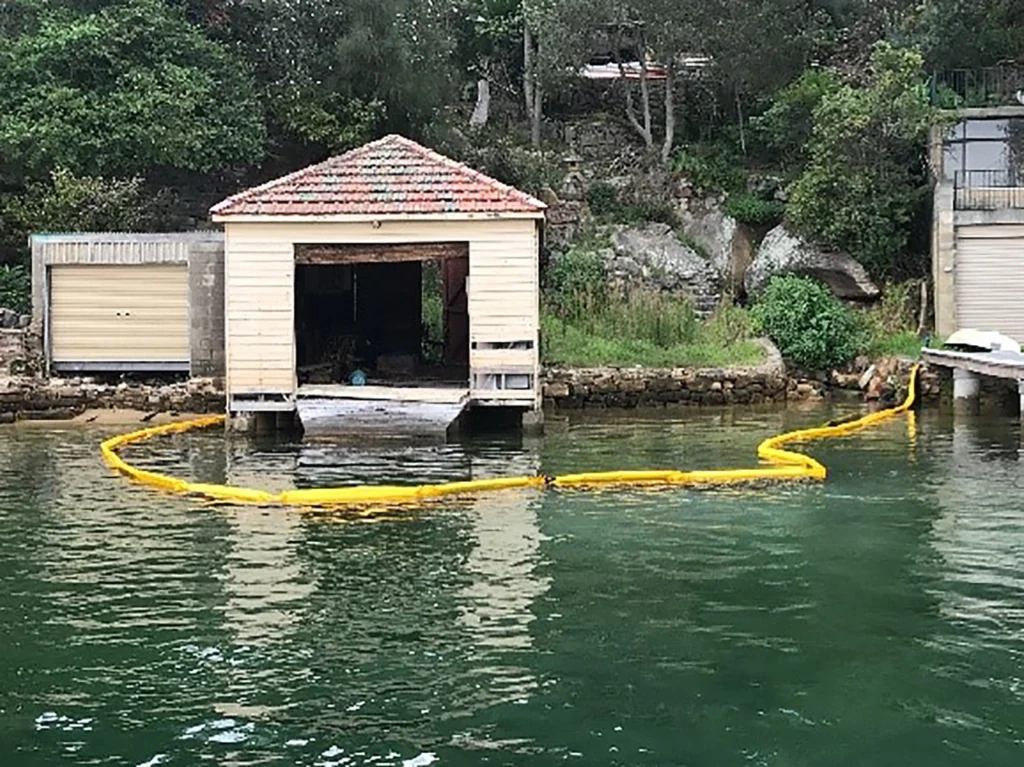
- Silt curtains. For work in or beside water, where the barrier hangs in the water column. Silt Curtains
- Dewatering bags. For water pumped from excavations, trenches and basins, so the discharge is filtered before it reaches a drain. Dewatering Bags
- Concrete washout bunds. Contain washout so alkaline slurry does not run to the nearest pit. Concrete Washout Bunds
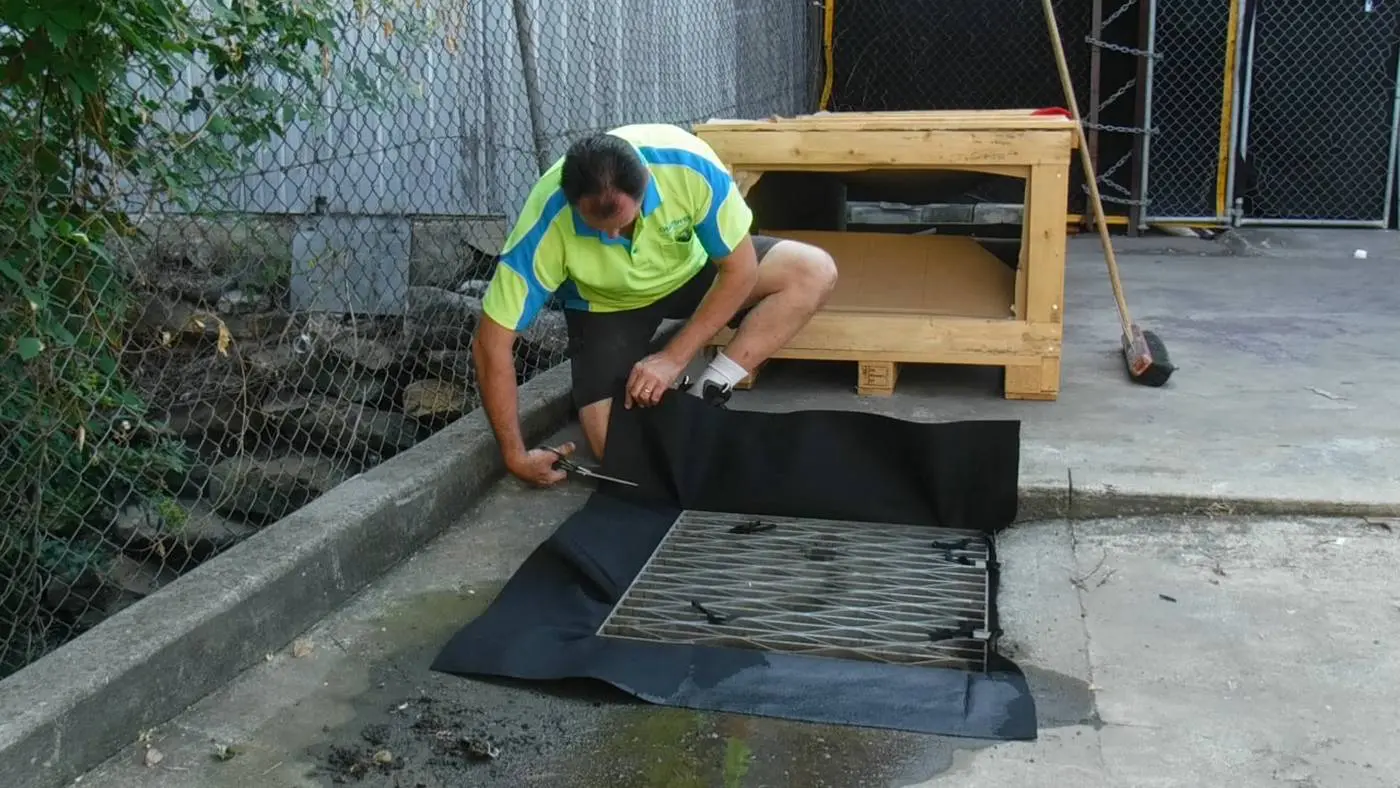
- Drain covers, seals and pipe socks. Protect stormwater inlets during the works. Drain Covers
Frequently asked questions
How deep should a silt fence be buried
At least 150 mm, and 200 mm by 200 mm is better. The fabric runs down the upslope wall and across the base, then is backfilled and compacted in layers.
How far apart should silt fence posts be
2 metres as standard, no more than 2.5 metres under the Blue Book layout, and up to 4 metres only where 2.5 mm high tensile wire supports the fabric at mid height and the top. Embed each post at least 400 mm.
When do you clean out a silt fence
When sediment reaches one third of the exposed fabric height, 200 mm on a 600 mm fence, and after any rainfall event that produced runoff.
Can a silt fence go across a drain or channel
No. Silt fences handle shallow sheet flow only. Concentrated flow needs a check dam, sediment trap or basin. Where a trench cannot be cut, use silt socks, which sit on the surface and filter sheet flow without excavation.
Get the rest of the sediment control line sorted
Akuna Services is 100 per cent Australian owned and operated, based at 349B Wentworth Avenue, Pendle Hill NSW 2145, servicing sites nationwide since 2016, with same day dispatch before 11 am. Send your erosion and sediment control plan through and the team will match socks, curtains, dewatering bags and washout bunds to it. Call 1300 912 949 or start with the Silt and Sediment Control.